By Jo Mott
May 26, 2026
Transforming your home often begins from the ground up, and few upgrades offer the immediate impact and long-term durability of professional concrete coatings. For homeowners looking to revitalize a damp basement, a cluttered workshop, or a busy garage, choosing a high-quality garage floor coating is an investment that yields substantial aesthetic and functional returns. Standard residential concrete is naturally porous, prone to staining from automotive fluids, and highly susceptible to cracking under changing temperatures and heavy loads. A professional epoxy flooring service solves these vulnerabilities by creating a seamless, impenetrable barrier that permanently bonds with your existing concrete slab. This comprehensive guide outlines exactly what you can expect during the professional installation process, from the noisy initial preparation steps to the final application of the chemical topcoat, helping you prepare your home for a smooth and successful renovation project.
Understanding the stages of a professional coating project helps homeowners appreciate the craftsmanship and technical precision required for a flawless finish. Unlike off-the-shelf retail kits that frequently peel or blister within a few seasons, a commercial-grade residential installation relies on heavy machinery, industrial-strength chemistry, and carefully timed applications. When you hire an experienced team, you are not just purchasing a layer of paint; you are investing in a multi-layered, engineered system designed to withstand daily wear and tear for decades. From the moment the installation crew arrives at your property with their specialized equipment trailers, every movement is calculated to ensure optimal chemical bonding and an immaculate aesthetic result. Recognizing how these phases unfold allows you to plan your household schedule accordingly and look forward to a beautifully upgraded space with complete confidence.
Preparation and Surface Profiling
The journey to a flawless garage or basement transformation begins long before any coating is applied. A professional epoxy flooring service prioritizes meticulous surface preparation, as this is the most critical phase of the entire installation. Experienced technicians start by assessing the concrete for cracks, spalls, and moisture issues. They then utilize heavy-duty diamond grinding machinery or shot-blasting equipment to profile the concrete. This process removes old sealers, paint, and contaminants while opening up the pores of the concrete. Creating the right surface profile is essential because it allows the liquid epoxy to form a deep mechanical bond with the concrete substrate. Without this mechanical profile, the coating cannot adhere properly, which leads to premature peeling and delamination. Technicians also take this time to vacuum away every speck of dust and debris, ensuring a pristine surface for the next step. They will also patch any existing cracks or divots with a specialized compound to ensure the final finish is perfectly level and smooth.
Mixing and Primer Application
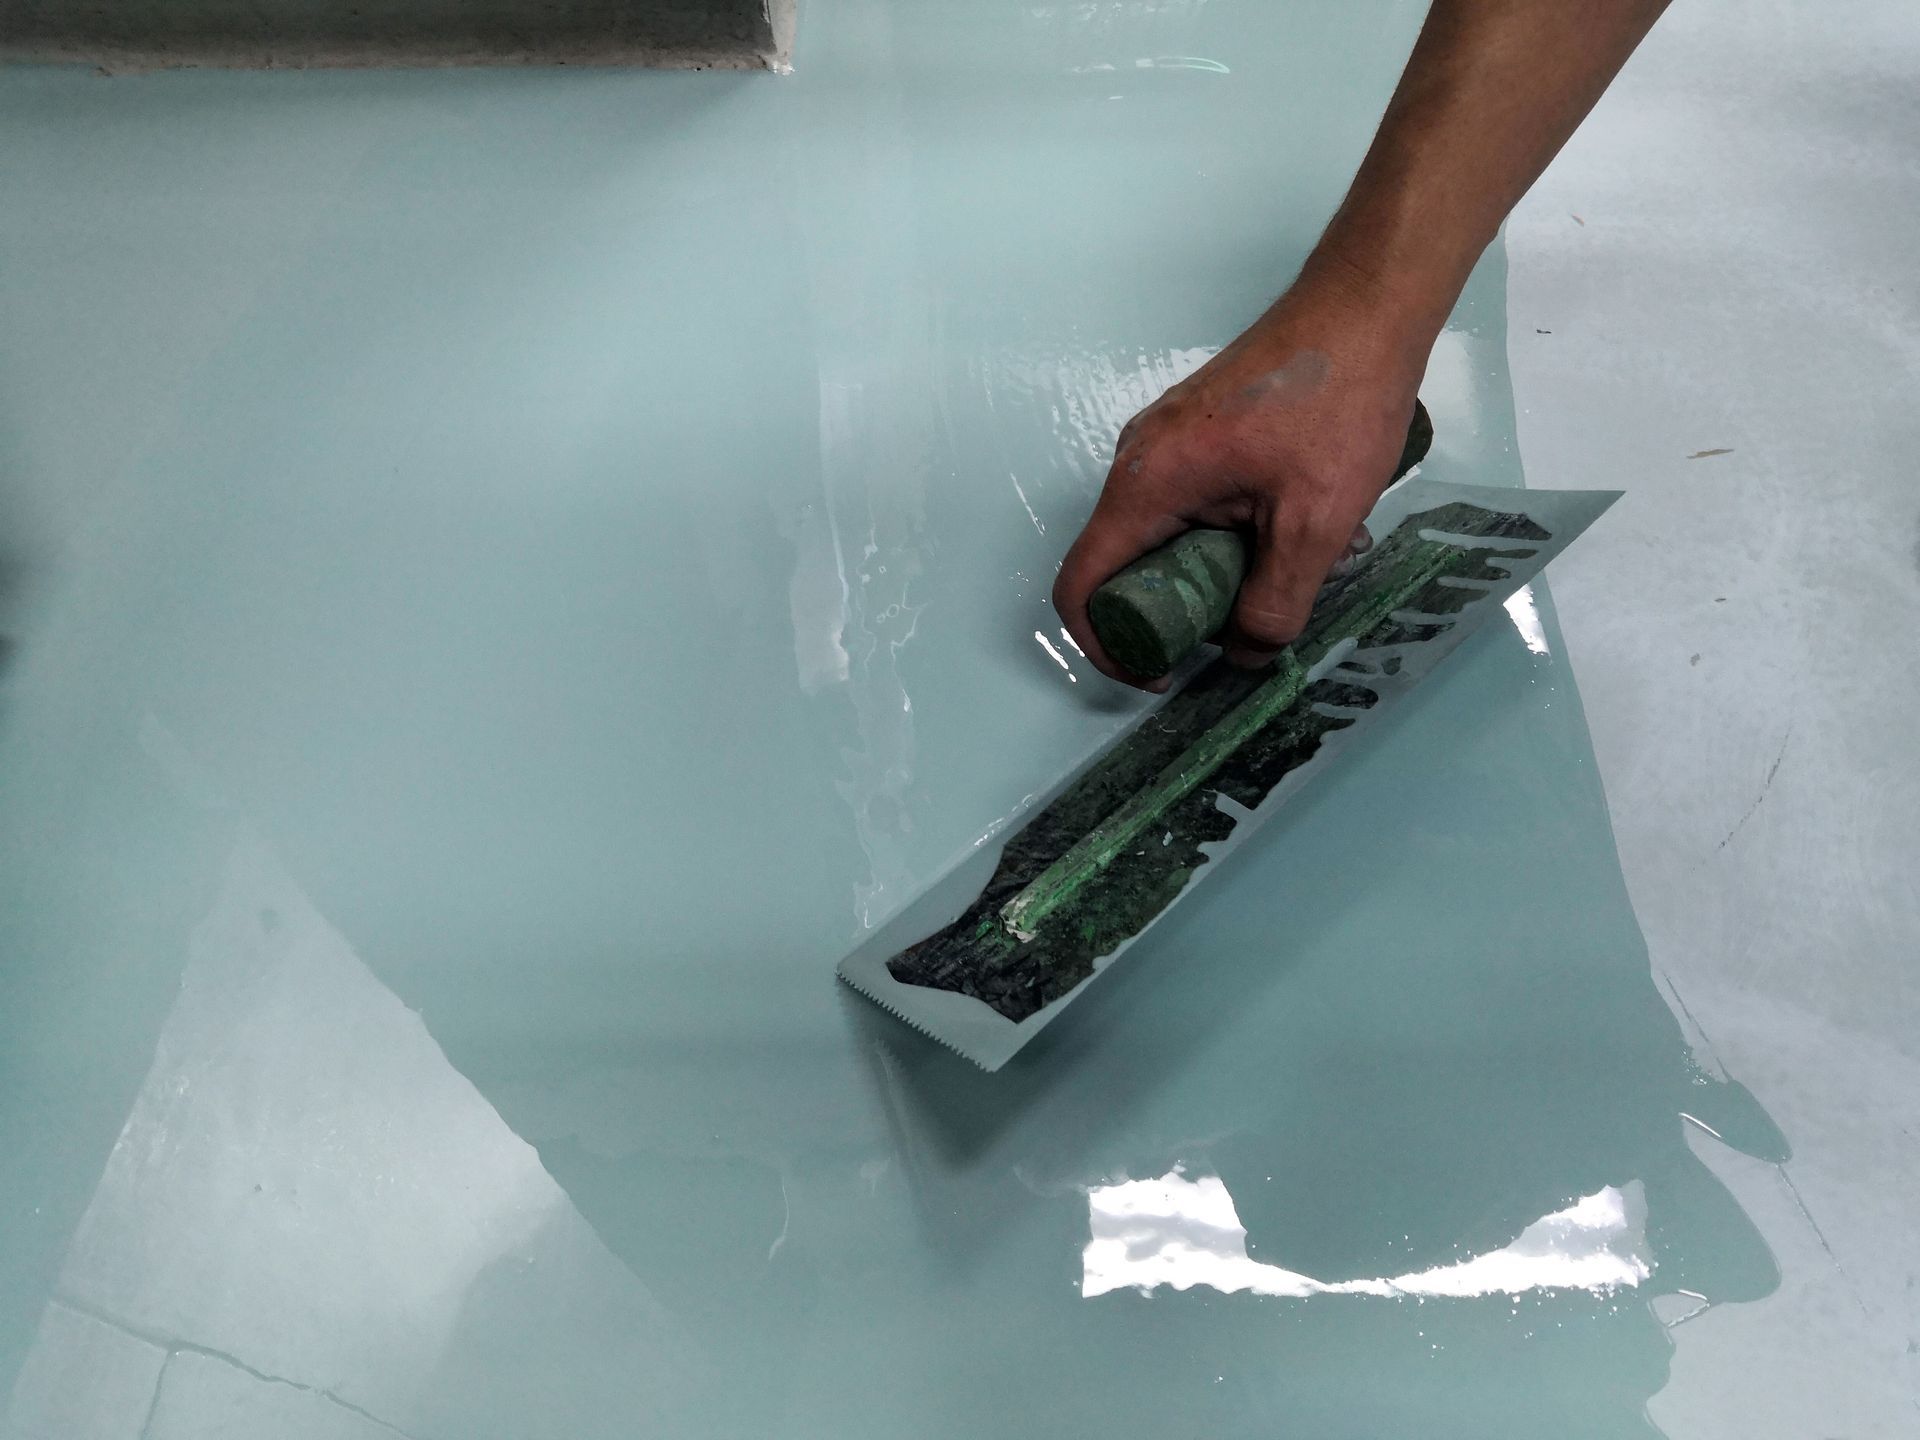
Once the concrete substrate is completely clean and profiled, the team moves on to the mixing and priming phase. Epoxy is a two-part system consisting of a resin and a hardener that must be mixed in precise ratios to cure properly. Professional installers understand the chemical nuances of these materials, taking temperature and humidity into account during the mixing process. A dedicated primer coat is applied first to seal the porous concrete and prevent outgassing, which can cause bubbles in the final finish. This primer layer acts as an archival bond coat, anchoring tightly to the prepared concrete and creating a uniform surface for the subsequent layers. Applying this base requires speed and precision, as the mixed components have a limited working time before they begin to harden. Professionals use specialized rollers and squeegees to ensure the primer is distributed evenly across the entire floor without leaving any thick patches or thin, unprotected spots. Experienced crews know that skipping this foundational layer compromises the entire installation, making this precise chemical application absolutely vital for long-term durability and structural integrity.
Flake Broadcasting and Basecoat Bonding
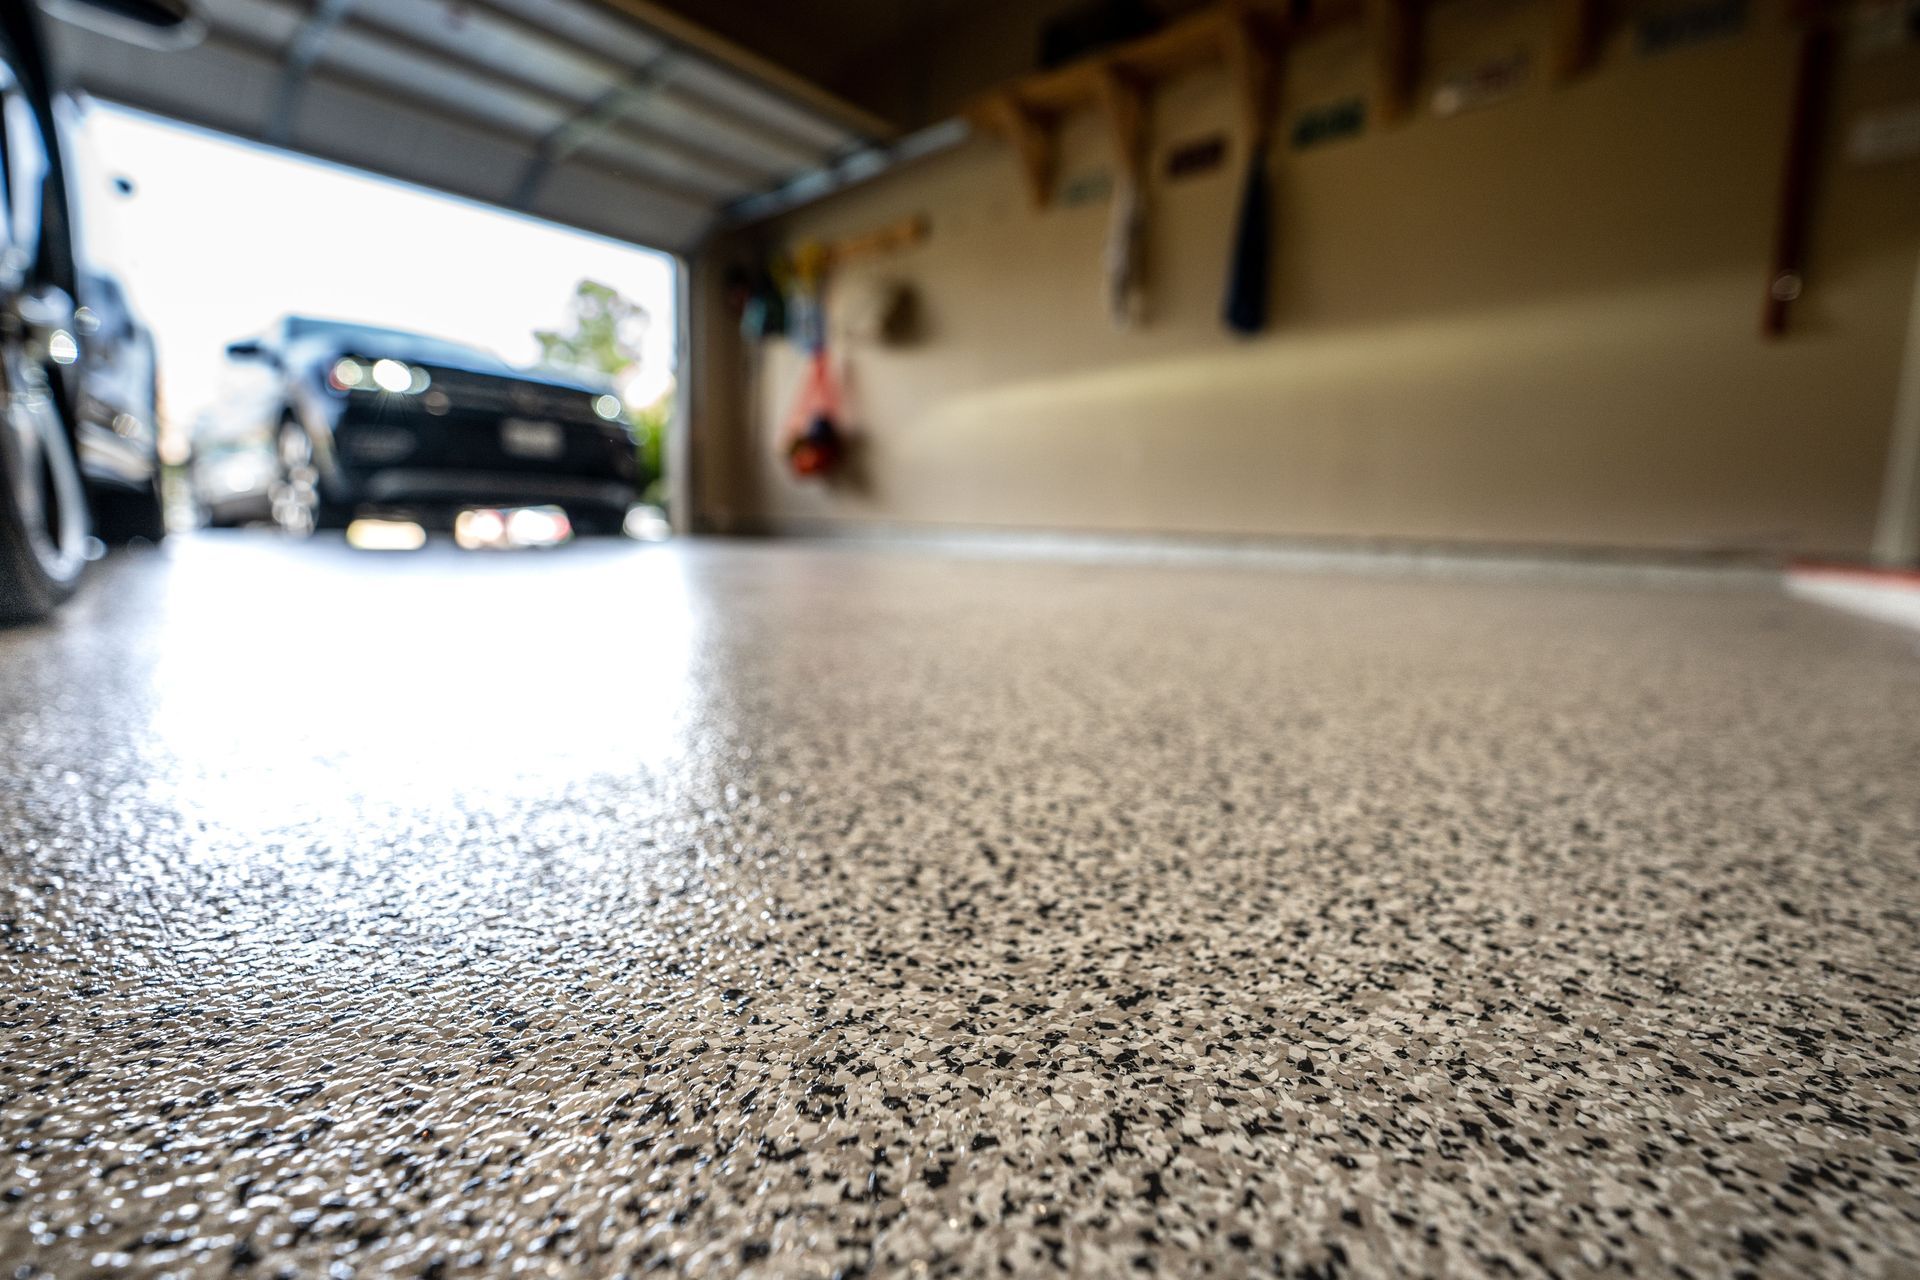
Immediately following the application of the basecoat, the installation team introduces the aesthetic and textured elements of the system. For a decorative flake finish, which is highly popular for residential garages, technicians broadcast color chips into the wet receiving coat. This process is done by tossing the flakes high into the air so they rain down evenly across the surface until the floor is completely blind with color. The flakes not only provide a beautiful, granite-like appearance but also add a layer of thickness and impact resistance to the floor. Beyond aesthetics, the texture created by the flakes offers vital slip resistance, making the surface much safer to walk on when wet. This particular step requires an incredible amount of patience and a steady hand to ensure the color distribution remains uniform without clumping or creating bald spots. After the basecoat cures, the technicians scrape away any loose or standing flakes, vacuuming the floor once more to prepare for the final protective layers that will seal the design in place.
Topcoat Sealing and Curing
The final phase of the physical installation involves applying a high-performance topcoat over the flake layer. This clear coat, often made of polyaspartic or polyurethane, shields the floor from ultraviolet light, chemical spills, automotive fluids, and daily foot traffic. The topcoat locks in the decorative flakes and creates a non-porous finish that is incredibly easy to clean and maintain. Once this layer is applied, the floor enters the crucial curing phase. Homeowners must respect the chemical curing timeline to ensure the longevity of the installation. According to The Spruce, you should wait between four and seven days to drive a vehicle over your new epoxy floor. Walking on the surface is usually permissible much sooner, often within twenty-four to forty-eight hours, but heavy vehicular traffic requires the full curing window to prevent tire marks or structural damage to the fresh coating.
The long-term performance of your newly finished floor depends heavily on maintaining the ideal environmental conditions during these final stages of the project. While the industrial coatings dry relatively fast to the touch, the internal cross-linking of the chemical polymers continues silently for several days beneath the surface. Professional installers will advise you to keep garage doors closed to prevent windblown dust, leaves, or insects from embedding themselves into the glossy, wet topcoat. They will also recommend keeping pets and children clear of the area until the volatile organic compounds have completely dissipated and the surface is firm. Following these post-installation guidelines guarantees that your investment remains unblemished, vibrant, and fully optimized to handle the rigors of heavy storage racks, rolling toolboxes, and daily foot traffic for the life of the home.
Investing in a professional
epoxy flooring service transforms your damp garage or dark basement into a bright, functional, and beautiful extension of your living space. The entire process requires specialized equipment, precise chemical mixing, and practiced installation techniques that DIY kits simply cannot replicate. By working with seasoned professionals, homeowners ensure a seamless application that withstands the test of time, heavy vehicles, and messy spills. From the initial diamond grinding to the final protective topcoat, every step is executed with precision to maximize both durability and visual appeal. If you are ready to upgrade your residential concrete surfaces with a premium finish that lasts for years, contact Seal Pro today to schedule a consultation, as we look forward to serving South Central Kansas and helping you achieve the perfect garage transformation.